Sunday, May 24, 2015

Cardinal Slice - TWD: Baking with Julia

Tuesdays with Dorie: Baking with Julia - 81st installment. The recipe is Cardinal Slice.

Apparently I am teetering on the edge of baking burnout, because I was kind of dreading the complexity of this one.  I am happy to say that I really enjoyed it, and it WASN'T THAT DIFFICULT!  This is a traditional Austrian pastry ("Kardinalschnitten").  I followed the directions, and it was relatively straightforward.

First - make an "Espresso Couleur" - an espresso carmelized sugar syrup.  The method for this was really quite amazing - warming and melting sugar in a large skillet, very slowly, until very darkly carmelized, followed by adding espresso to that and boiling again.  I used a non-stick skillet, and all went fine - glad I had the time to focus on this, since it's not something to do while multi-tasking.
Meringue stripes

Next - the cake layers.  You're making three layers of cake, 3" by 15" or so - you're going to end up with a long, high, not very wide cake.  Parchment and a pastry bag were essential for this.  You make meringue, and pipe out thin stripes of that onto three pieces of parchment.   

There is a lot of meringue left, which becomes the basis for a sponge cake batter, which is then piped in between the meringue stripes, to make a layer with alternating stripes of meringue and sponge.    
Meringue and sponge stripes - there are three layers here
These are baked for a long time (recipe called for 40 minutes, but I did about 30), at a very low temperatue with the oven door propped open with a wooden spoon.  
Layers after baking

Last element: whipped cream, flavored with Espresso Couleur.  Mmmm...this would be good on just about anything ;-)  The recipe just used a little bit of this - I have some left over, so it should be fun to figure out how to use it.

The cake was slightly challenging to assemble - the recipe suggests trimming the sides and ends in order to make the layers even, but I think my knife wasn't quite sharp enough, because it seemed to tear the layers more than cut them. I did a bit of work on the ends, but skipped the sides.  
Bottom layer before assembly
Then you spread the cream on top of cake layer one, add cake layer two, more cream, and then cake layer three, which you leave unfrosted. Use the rest of the cream to lightly frost the sides and ends.  I covered a piece of cardboard with foil to hold it - I can see that I "need" (ha!) some kind of couleur-sized plate for serving this shape of cake....
Assembled Kardinal Schnitte (Schnitten? is it one slice or plural at this point?)

Nutella Buttons - TWD: Baking Chez Moi

Another in my sporadic installments of Tuesdays with Dorie - Baking Chez Moi. The recipe is Nutella Buttons.


These are mini cupcakes with a dollop of Nutella in the middle - a simple concept, and very easy to do.   Everyone really enjoyed them!

The method to prepare the batter was rather different from what I've done before -  interesting to try a different method, after all the various ones I've already seen. It seems like there are an infinite number of ways to make a cake batter.

You whisk the egg yolks, and then add the mixture of dry ingredients to that, to form a kind of paste.  This recipe calls for confectioners sugar - I'm wondering if that helps to make the grain of the cake finer.  The next step is to add melted butter to the paste, and then beat it.  Next you beat the egg whites until they hold peaks, and fold a small quantity of that into the batter to loosen it, followed by folding the rest of the beaten whites in.

I baked them in foil mini-muffin cups.  You put a small quantity of batter in each one, followed by a 1/2 teaspoon of Nutella, topped with additional batter.  Bake them on a baking sheet, and that's it.  Time to pop them addictively into your mouth ;-)  We were so busy eating, I neglected to take a photo of what they look like on the inside.

I find Nutella a bit too sweet, so I used a chocolate/hazelnut spread from our local health food store - slightly thicker and less sweet.   I also dipped the top in chocolate ganache (one of Dorie's "Bonne Idée" sidebar suggestions) and that made them extra yummy.

Tuesday, May 5, 2015

Ka'kat - TWD: Baking with Julia

Tuesdays with Dorie: Baking with Julia - 80th installment. The recipe is Ka'kat.
Another flatbread recipe from Baking with Julia - so easy, and very good!  It's billed in the cookbook as 'Middle Eastern street food".  The recipe is a basic white bread, with a little bit of mahleb for seasoning.  Mahleb is a spice made from the ground stones of a cherry.  Sadly, I couldn't find it in my nearby stores (and with no time to spare, no time to search high and low), so based on a suggestion I found on the web, I substituted a combination of ground fennel seed and cardamom.  It's only a quarter teaspoon, but I think it helped the flavor.

First, make a sponge with yeast, sugar, flour and water, which you allow to rise briefly: 
Before rising
After rising - the spoon is diappearing...

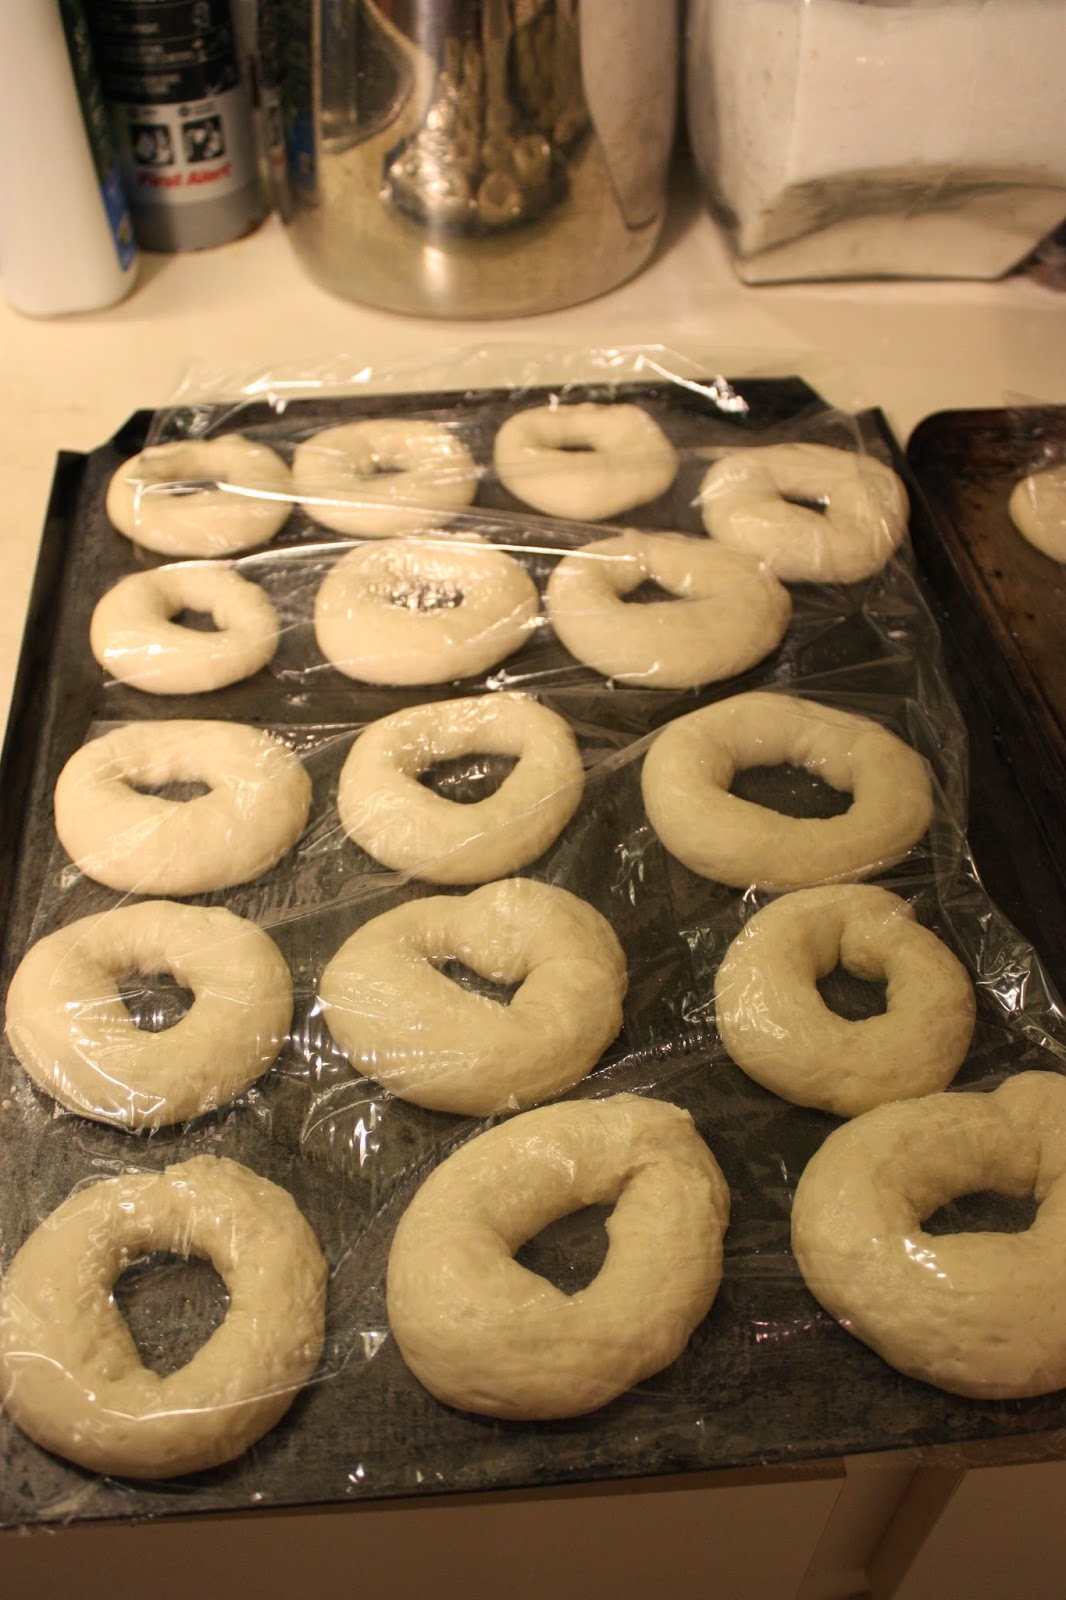
Next, you mix in salt, seasoning (in my case, mahleb substitute) and then the rest of the flour, making a rather soft dough, which you knead for 10 minutes.  Let the dough rise for 1-2 hours, and then cut it into 32 pieces, roll each piece out into a long "snake", and then form rings on the oiled baking sheets.  These rise for 30 minutes, covered in plastic wrap. It's hard to tell from the photo, but these are just about 3 inches across.

 I should have oiled the plastic wrap - this was a little sticky, and I lost some "rise" when I pulled the stuck wrap off the rolls.

Coat with egg wash, sprinkle with sesame seets and bake.  They are kind of like mini bagels, although not as dense as that (no boiling step).  

These were very good warm, and kept well - I reheated them, uncovered, in the oven the next day, and the surfaces got crisp, which was very good.  I would definitely consider making this one again - I thought the recipe's comparison to soft pretzels was true (although they are sprinkled with seeds instead of salt!)