

 Now fold in dry ingredients - cocoa and flour. This took some doing, as the dry ingredients stayed kind of separate from the whipped eggs as I tried to fold.
At this point, you fold in hot clarified butter, and then you've got your batter ready to bake. Once done, you let it cool in the pan.
 Chocolate decorations: Melt a pound (yes, really) of bittersweet chocolate. Once melted, you spread it on the backs of jelly-roll pans, in a very thin layer. Once these sheets are chilled you use an offset spatula to form fan-like "ruffles". Not exactly intuitive, but I kind of got the hang of it - it helped to watch the video on YouTube. A bunch of my ruffles turned into shards (see cake photo above). I was glad to be preparing this on a winter day - one can only imagine this process in August :-) The ruffles go into the fridge to chill when they're all carved.
Fillings:
- Crème fraiche, mixed with sugar and vanilla, and one portion of it mixed with melted chocolate, so you have a vanilla and a chocolate filling.
- Sugar syrup mixed with raspberry eau-de-vie
- Fresh raspberries
 |
| Bottom layer with chocolate filling on top |
 |
| Second cake layer with berries on top |
This creation gets chilled for several hours, and then you remove the springform ring. It's time to wrap the cake in a layer of chocolate (?!). Again, good to watch the video to see how to do this. It involved painting a measured strip of freezer paper with a thin layer of chocolate, and then wrapping that around the cake. This is chilled (again) - yes, the elapsed amount of time is many hours!
 |
| String of melted chocolate on paper |
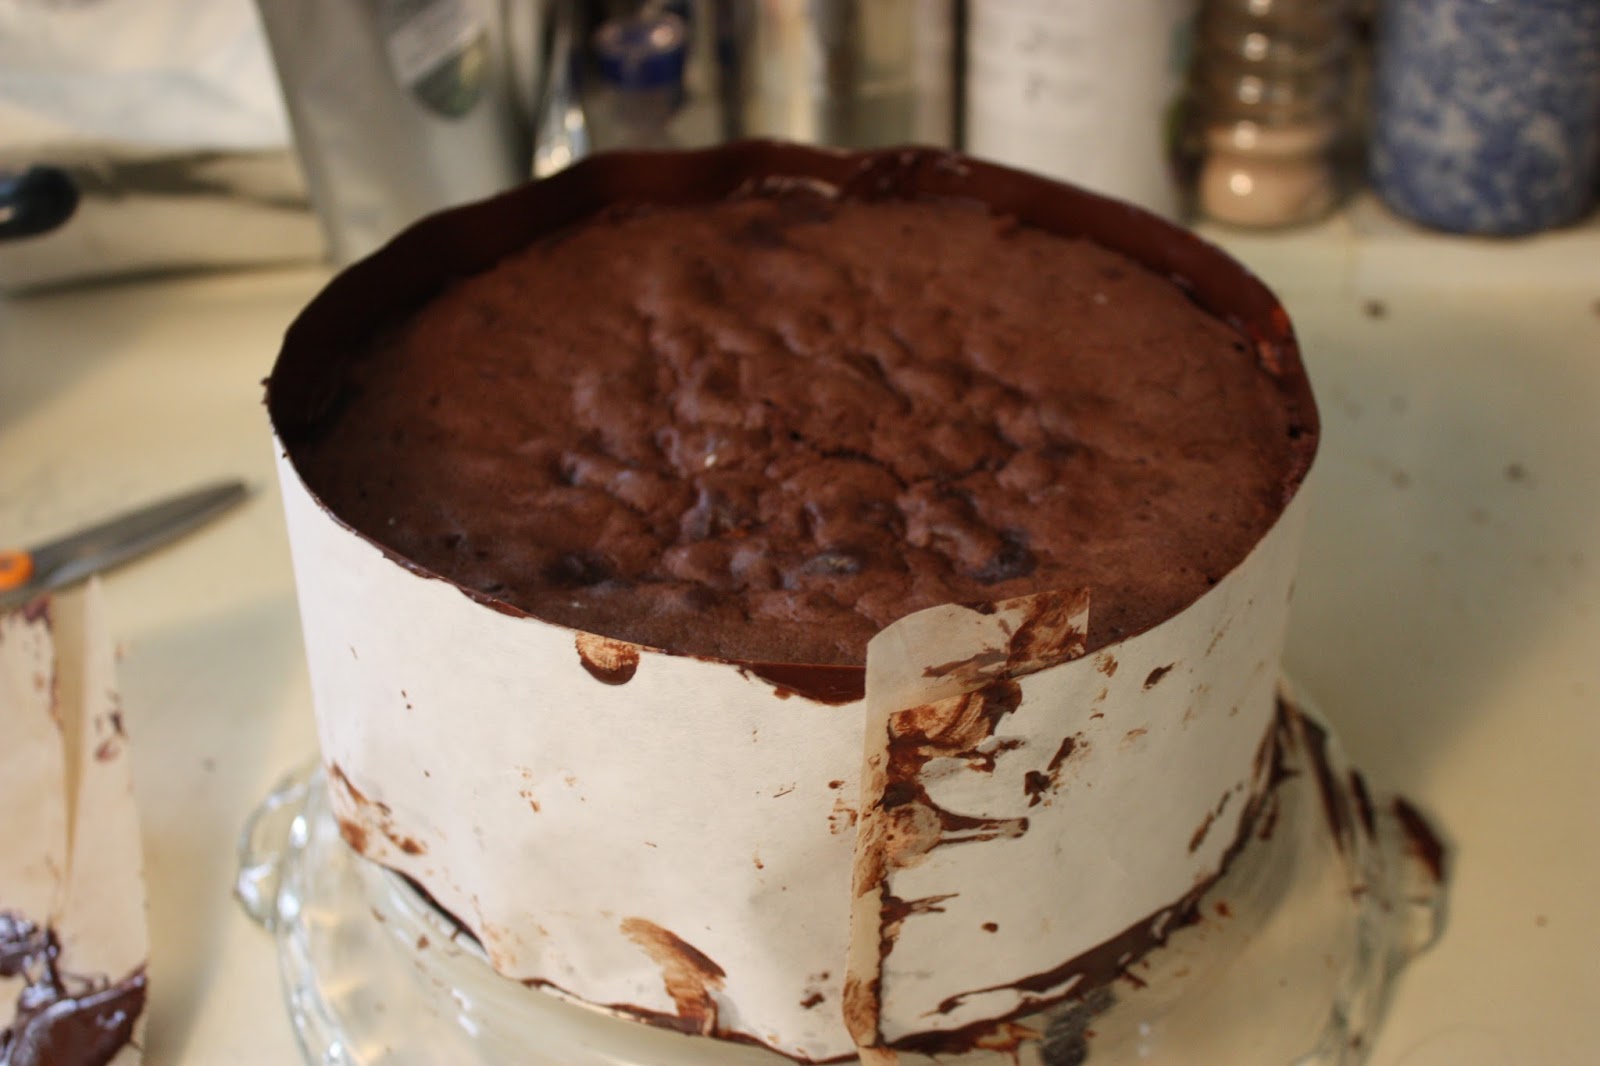 |
| Cake wrapped with chocolate on paper |
Finally, you top the cake with the remaining vanilla crème fraiche, and then decorate with your ruffles, in circles to completely fill the top. Here's the start of that process:

::burp::
ReplyDelete