Tuesday, December 17, 2013

Gingersnaps - TWD: Baking with Julia

Tuesdays with Dorie: Baking with Julia - 47th installment. The recipe is Gingersnaps.

Mmmm...ginger...something to cut through the fog of holiday preparations and food overload.  I had made these once before, because I had notes in my cookbook about the dough being soft and rather fragile, but I have no recollection of actually cooking them! (got to start putting dates on these notes...)

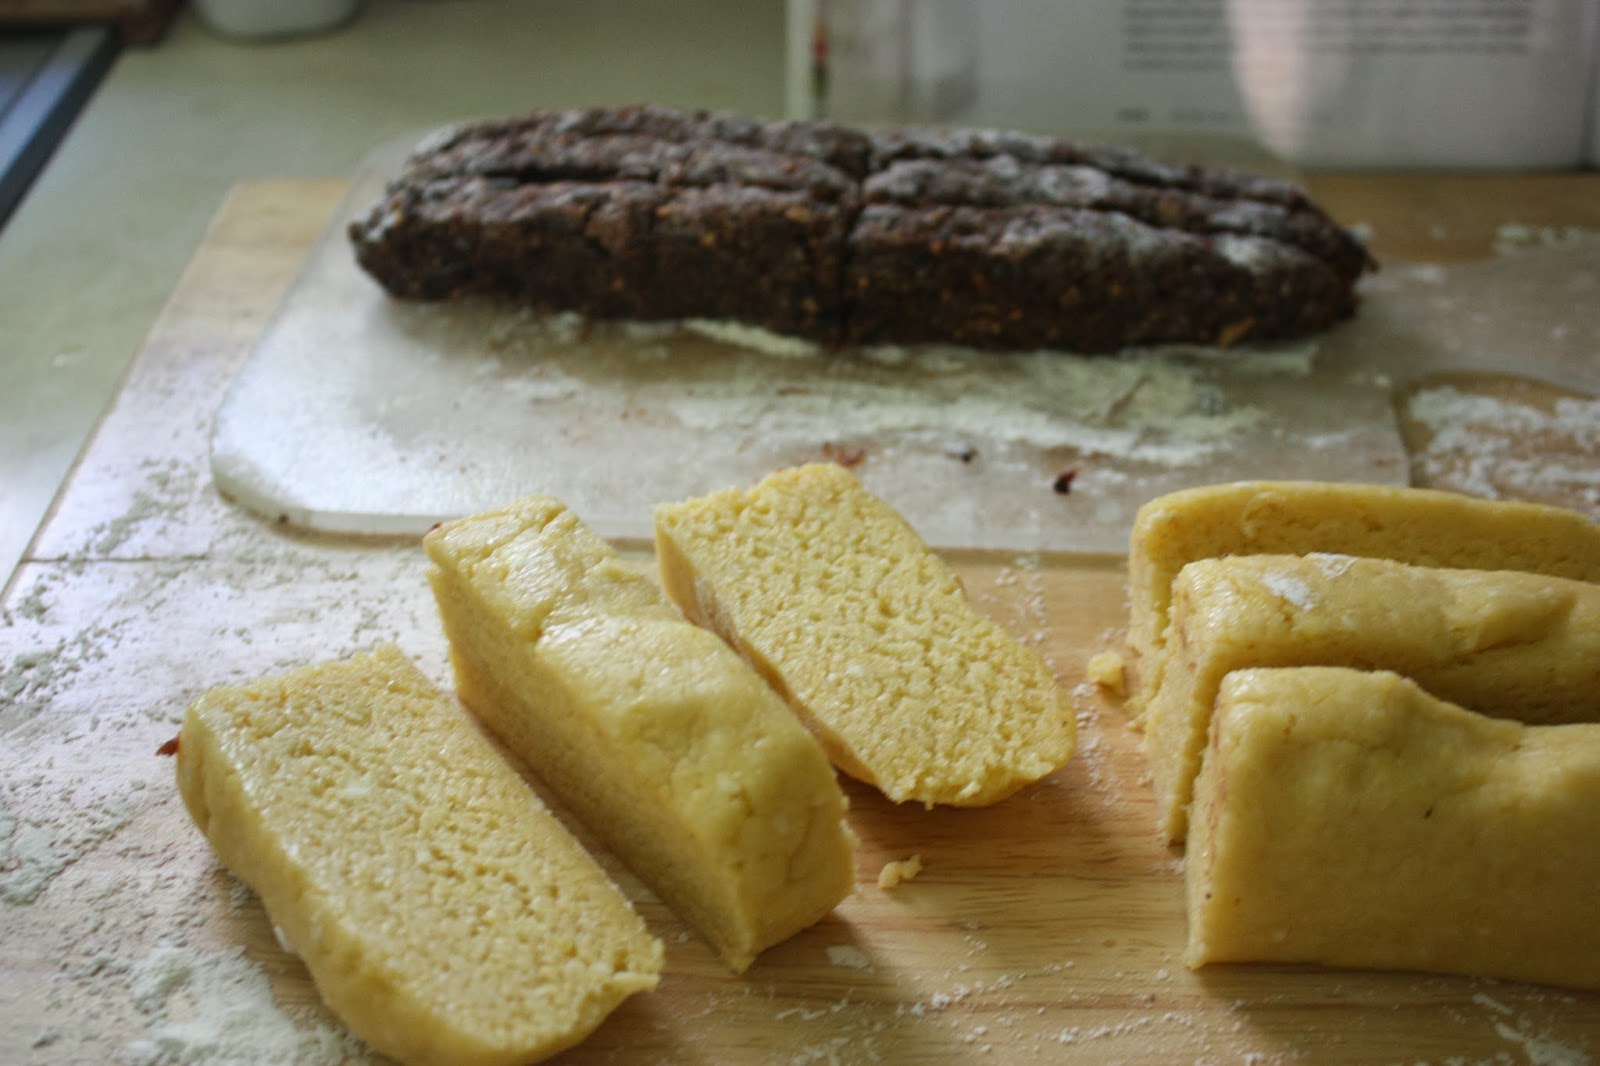
I'm glad I reviewed the advice on Tuesdays with Dorie from people who had already prepared this recipe, and increased the spices - I quadrupled the ginger and doubled the cinnamon.  These cookies are very tasty, although the dough was not easy to work with - I used a lot of flour on the board, and still some of the cutouts wouldn't really come up without getting smushed.  The dough didn't firm up much despite a couple of hours in the refrigerator.  I put the scraps of dough back into the fridge to see if prolonged chilling will help with this.  I was interested that the recipe included water - not usually a cookie ingredient.

The recipe was simple, and easy to mix up. As stated in the recipe, they didn't spread much on the cookie sheet, which is nice because I could bake many at once and they kept their shape:

I'm not sure about the molasses glaze - maybe it's not necessary. I will try the later batch without it to see if I notice any flavor difference.  

Tuesday, December 3, 2013

Challah - TWD: Baking with Julia

Tuesdays with Dorie: Baking with Julia - 46th installment. The recipe is Challah.

This recipe was very easy, and the bread is great.  We really love challah at our house. I don't know if there will be any left for any French toast!  I even prepared this after work yesterday evening.  I had a sudden panic during the day when I realized that it was time for the first recipe of the month, stopped to buy eggs on the way home, and although I did get to bed a bit late, the bread was done that evening.  What a wonderful aroma in the house. 

There were no real tricks to the technique, although I had one loaf that was smoother than the other.  It seemed harder to roll the smooth long pieces from the second half of the dough - maybe it was saggy from having sat while I rolled out the first one. There was a lot of yeast, so it rose well, even without any kind of warm spot to sit in as it rose.  I used my Kitchen Aid to do the kneading while I worked on other things in the kitchen.

Before braiding
Before rising - having short hair, I never have learned to braid very neatly :-)
My loaves look a little dark partly because of the lighting when I took the photo - I did let them brown before putting a foil tent over each while they continued baking.  It's tough to fit two loaves in my oven - it always feels like one is too high (and thus browning too much in the hotter part of the oven) and one is too low (and thus too close to the lower element and browning too much on the bottom).  I set the timer for smaller intervals and kept swapping the loaves top to bottom, and turning the pans back to front, to help them cook evenly.

I would definitely make this recipe again - very simple, and rewarding.

Tuesday, November 19, 2013

Double Chocolate Cookies - TWD: Baking with Julia

Tuesdays with Dorie: Baking with Julia - 45th installment. The recipe is Double Chocolate Cookies.
 
These cookies are really rich and chocolatey.  They have 12 ounces of bittersweet chocolate and four ounces of unsweetened - a pound of chocolate in one batch of cookies?!  Some of the chocolate is melted into the dough, and some chopped and thrown in as chunks. They have just enough flour to hold them together...kind of like a chocolate chunk brownie in cookie shape.  You can see the shiny surface in the photo.  It was important not to overbake them - I did overcook one batch, and they turned slightly black on the bottom and got a little dried out.  (Of course we ate them anyway!).

The cookies were easy to make, and I had no problems following the recipe.  I really like the fact that the recipes in this book are clear about when you can hold things in the fridge, and for how long - I baked some of the cookies, and then kept the rest of the dough in the fridge until a few days later when I had more time to bake the rest.  Everyone loved them - we ate them slowly, since they were so rich and dense...they were quite popular with the afterschool snack audience ;-)

Wednesday, November 6, 2013

Pumpernickel Loaves - TWD: Baking with Julia

Tuesdays with Dorie: Baking with Julia - 44th installment. The recipe is Pumpernickel Loaves.
I really liked this recipe and would definitely make it again.  The recipe went on for pages, but it really wasn't that complicated. I was glad it wasn't a multi-day process like many of the other recipes - it was great to start at midday and be done by evening. 

The recipe calls for the final rise before baking to be done in a sling made from a dish towel with holes punched in its corners, plus an S hook. I initially thought I would skip that, but then slowed down and read the suggestion to just tie opposite corners of the towel together, so I did that, and hung the slings on a doorknob.  I'm not sure whether it affected the final result, but it was interesting :-)
The flavor of this bread is very authentic - maybe a result of the combination of chocolate, prunes, coffee and rye flour.  I made the prune lekvar from the book, since I didn't find any prune jam at the store - wow, the leftover has been delicious with yogurt or ricotta cheese ( and why do people dislike prunes?! :-) For the espresso powder, I used some Starbucks instant decaf French roast as well as a little bit of espresso powder.  Also used whole milk yogurt, as I thought that would likely help with the flavor.

The bread has also kept quite well - it's a few days since baking, and still very moist. Good for sandwiches, toast, and with soup!

Tuesday, October 15, 2013

Danish Braid - TWD: Baking with Julia

Tuesdays with Dorie: Baking with Julia - 43rd installment. The recipe is Danish Braid.
What a fun recipe to bake! I really liked trying some techniques that were new to me, including the low-effort flaky pastry (food processor plus simple rolling and folding), and the microwave fruit jam and confectioner's cream fillings.  I made raspberry and cream filling, which was delicious.  Another practical aspect of this recipe: you can prepare it mostly the day before, get up in the morning at a reasonable hour, shape and bake the braid, and still have your fancy pastry for breakfast (rather than brunch).

I didn't watch a video of this, so I was a bit clueless on the filling quantities, and I think I used a bit too much of the fruit filling.  The recipe did say "you might not need all the filling", but I wasn't clear on how much was too much, until I did it.  I also think my cream filling wasn't quite thickened enough, because the two fillings ran all over the place when I was shaping it (the pretty photo is above, and the scary photo is below :-):

It did bake up pretty well (although with a bit of burning sugar smoke coming from the liquid on the parchment) and held together once it was cool.  I wasn't quite sure how to close off the ends - I think that next time I would leave a little space within filling, so I can fold it over better.

One warning to anyone who hasn't tried this yet - you need to chill the pastry dough overnight before rolling and folding, and then again after rolling and folding, so some planning is in order.  I had not planned ahead very much, and didn't have time to do the first overnight chilling. I did let it go for 6 hours in the fridge, so it was quite cold when I got to rolling and folding it, and it seemed to be a bit soft, but not too difficult to roll.  I did wonder if the yeast would have developed more if I had left it longer in the fridge.

Fortunately I made the full recipe of dough, and put half in the freezer, so I will have another shot at perfecting this :-)

Tuesday, October 1, 2013

X Cookies - TWD: Baking with Julia

Tuesdays with Dorie: Baking with Julia - 42nd installment. The recipe is X Cookies.

This recipe was very easy, in the sense that it went exactly as described in the book. You blend the filling in the food processor: figs, apricot jam, almonds, raisins, orange peel, and a little bit of chocolate...yummy. What did the original Sicilian bakers do without a Cuisinart? Big knives and lots of chopping? Mortar and pestle?  I'm a big fan of dried fruit, so this was right up my alley.

Dough and filling pieces before rolling
The dough also came together easily and was easy to work with. I used a ration of 1/4 lard to 3/4 butter - I had enough lard for the whole thing, but thought the lard might overwhelm the flavor if I used only that.
I enjoyed the technique of rolling out flat strips of dough, and then wrapping them around the rolled out pieces of filling to get a long skinny roll of filled dough.  I applaud whoever wrote these instructions (Dorie?), because I was actually able to follow them without watching the video, even down to the reminder to run a flat knife or spatula under the rolled out dough strip to make sure it didn't stick.
Cookies before baking

The end result is delicious - I think the filling is inspired, because of the combination of flavors.  Maybe not the new favorite cookie for the kids in the household, due to the paltry amount of chocolate, but I definitely want to make these again.


Monday, September 16, 2013

Espresso Profiteroles - TWD: Baking with Julia

Tuesdays with Dorie: Baking with Julia - 41st Installment.  The recipe is Espresso Profiteroles.

This recipe was fairly easy and really delicious.  Coffee-flavored cream puffs, with cinnamon ice cream, and chocolate sauce on top - great combination!  You could do other combinations as well - I bet a raspberry ice cream would be good here.  Confession: I bought some locally-made cinnamon ice cream, instead of following the recipe in the book.  Please don't take away my Baking with Julia license ;-)  I have made ice cream before, but knew the extra time spent would push this project over the line from fun into schedule overload.

I have made cream puffs before, both large and small, so that part of the method was familiar.  I remember my mom teaching me how to make them and how different it was from a cake or cookie recipe, with the hot liquid butter and water, and then beating in the eggs.  
Ready for baking
It's very useful to have a pastry bag with a 1/2" tip as specified in the recipe - I'm not sure how else you could manage to make uniform puffs, since the dough is rather sticky and hard to manipulate.  I ended up with some peaks on them - hard to twist the pastry bag to smooth them off, so I had to smooth over with a finger after piping them onto the sheet.  It was a little tricky to put the egg wash on the batter blobs - next time, I will definitely try to put on more, since I liked the shine that it added.

 They puffed up very well in the oven, and I made sure to bake them long enough - in the past I have removed cream puffs from the oven too early, and they can be a little soggy and deflated. They are a little irregular looking, but I think uniformity would take away their personality :-)

All in all, a lot of fun and a recipe I would definitely prepare again.